 |
|||
|
|
|||
|
|
|||
| ||||||||||
|
|
 TM 11-6625-3024-14/EE641-AC-MMA-010/E154 SYSEX/TO 33AA50-5-1-1
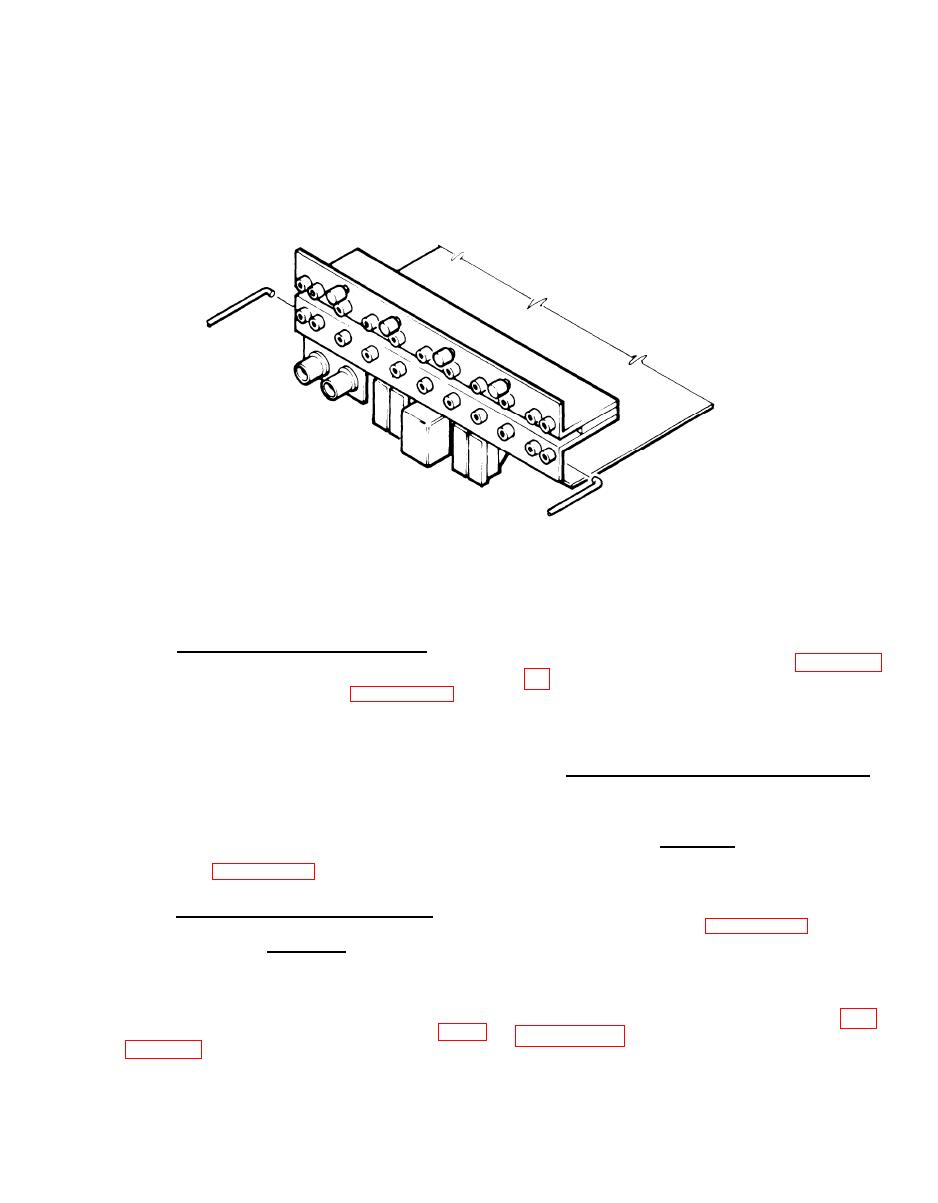
f. Read/Write Data and Error
Hook an extractor tool behind Read Data Test
jacks and pull straight out.
Circuit Card 6
1A2A6
Figure 5-1. Printed Circuit Card Removal (Continued)
5-10. CIRCUIT CARD REPLACEMENT
2. Remove the indicator cover (2) by pulling
straight out from the circuit card. (See Figure FO-
1. To install the circuit cards, insert the circuit
card in the edge guides. (See Figure FO-13, Cir-
cuit Card Location. )
3. Remove the lamp(s) (3) from the retaining
clip.
2. Push the circuit card into the frame assembly
until it mates with the rear edge connector. A firm
5-12. CIRCUIT CARD LAMP REPLACEMENT
pressure on the front edge of the circuit card will
engage the rear edge connector.
1. Install the new lamp(s) in the retaining clip.
3. Install the front panel using two screws, lock
CAUTION
washers, and flat washers (1) on each side of the
panel. (See Figure FO-13, Circuit Card Location.)
Make sure collar on the bulb is prop-
erly seated in the contacts. Failure to
5-11. CIRCUIT CARD LAMP REMOVAL
seat properly will result in transistor
driver burn out. See Figure FO-13.
CAUTION
2. Push the indicator cover (2) onto the switch
Never operate Exerciser with a lamp
flange.
missing from a socket.
3. Replace the front panel as described in par-
1. Remove front panel as described in para-
5-13
|
|
Privacy Statement - Press Release - Copyright Information. - Contact Us |
